Debug
上一节的实现在附加bloom后有闪烁爆闪,发现是部分像素的计算变量错误得到了NaN;
判断变量是否是错误值NaN,可以借助hlsl的函数if (!all(isfinite(value)))来判断,经过一系列排查后,确定是计算交点的部分出了问题;
一些像素的AO和BO是NaN,关键是sqrt输入了负数,虽然明明前面有判断CT2 > R2,只能猜测是浮点数误差导致的,修改代码后问题解决了
1 | |
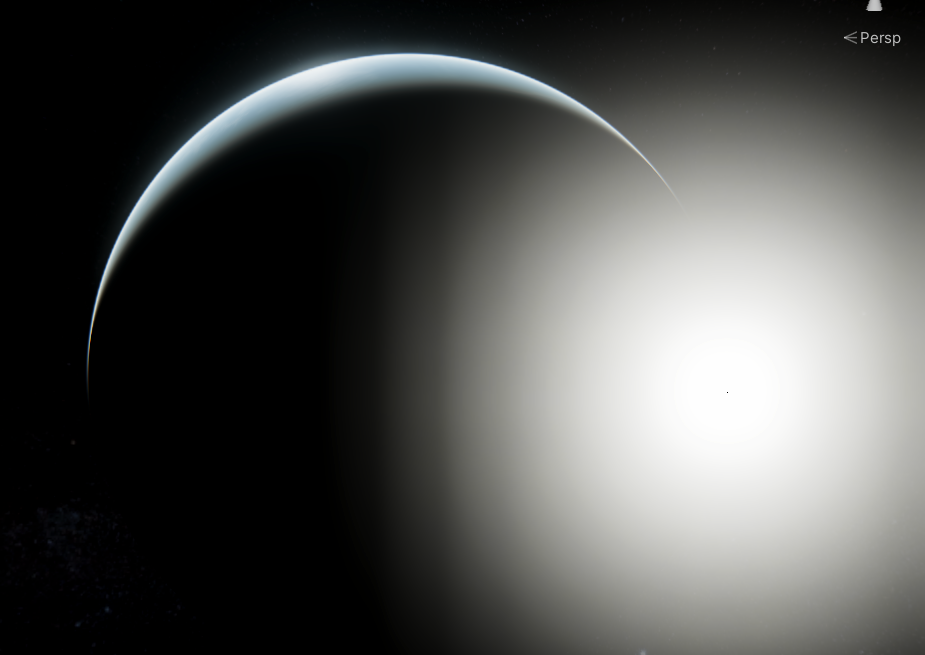
用于Skybox Shader
除了用于在外太空中渲染星球的大气,也可以渲染在大地上,看向天空中的大气光照,即渲染天空球;
Pass Tag
1 | |
渲染天空球时,需要修改一些输入参数,rayStartWS是摄像机的世界坐标,centerWS因为我们是站在大地上,实际的大气层球形是在地心,即往下地球半径;射线方向因为天空相当于无限远,所以类似cubemap采样那样,使用i.positionOS即可
1 | |
还有一点处需要修改,之前在外太空看向星球,计算相交,基本不可能两个交点都在射线后面,但是现在是在星球上,按照之前的计算,在于星球求交时会有问题
1 | |
增加了BO在射线后的判断
1 | |
然后,前交点基本上是在身后,实际的出发位置就是摄像机位置,即tA = 0
1 | |
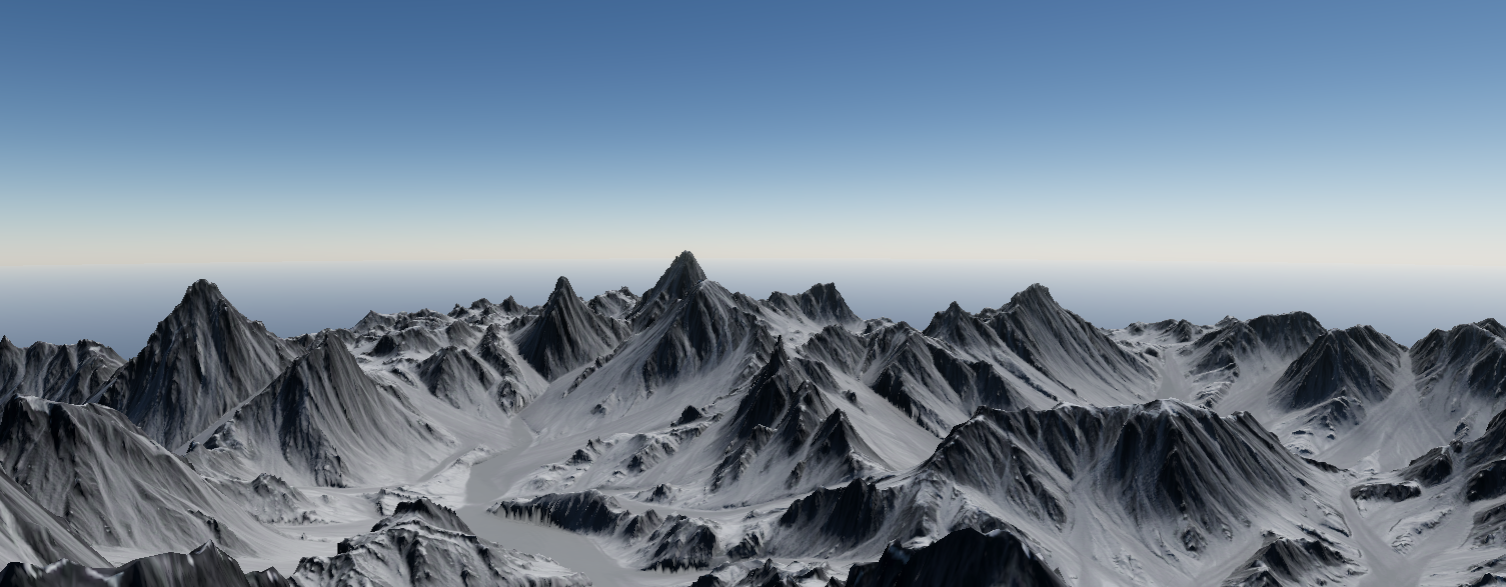
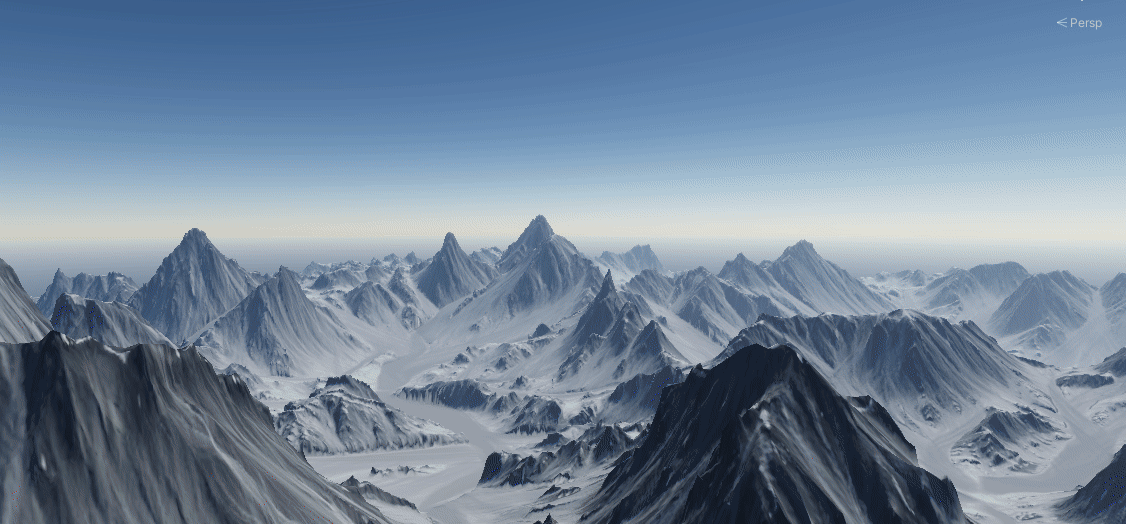
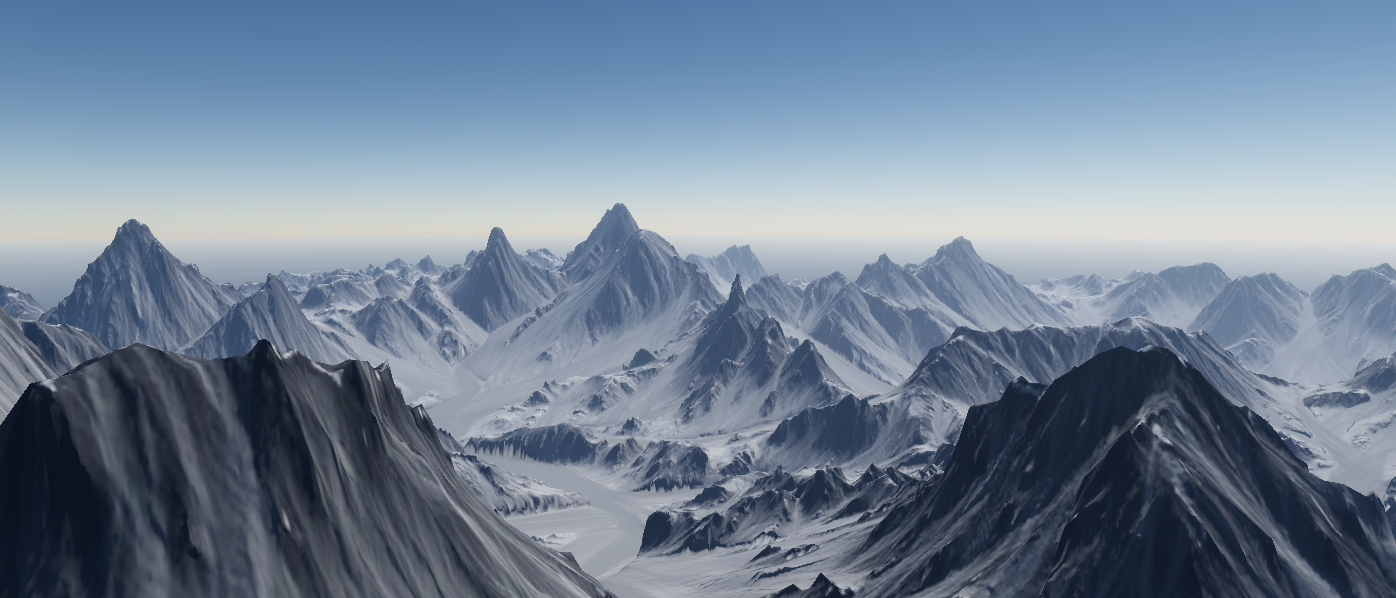
大气雾
该算法还可用于为场景叠加一层大气雾效,达到远景偏蓝,例如现实远处的山是蓝色的光照效果。
当然颜色是根据光照角度的,当日落时,光线在大气中传播的更远,不同波长损耗的能量不一致,对应最终的颜色也就不同了。
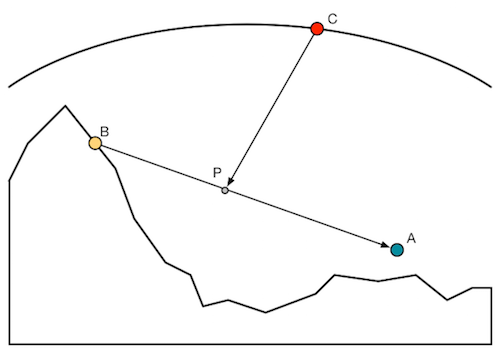
太阳光IC在这里替换为了B点的反射颜色,需要考虑T(AB)的衰减,并且加上AB上的大气衰减散射结果

需要把T(AB)输出
1 | |
把该函数应用在地形shader上
1 | |