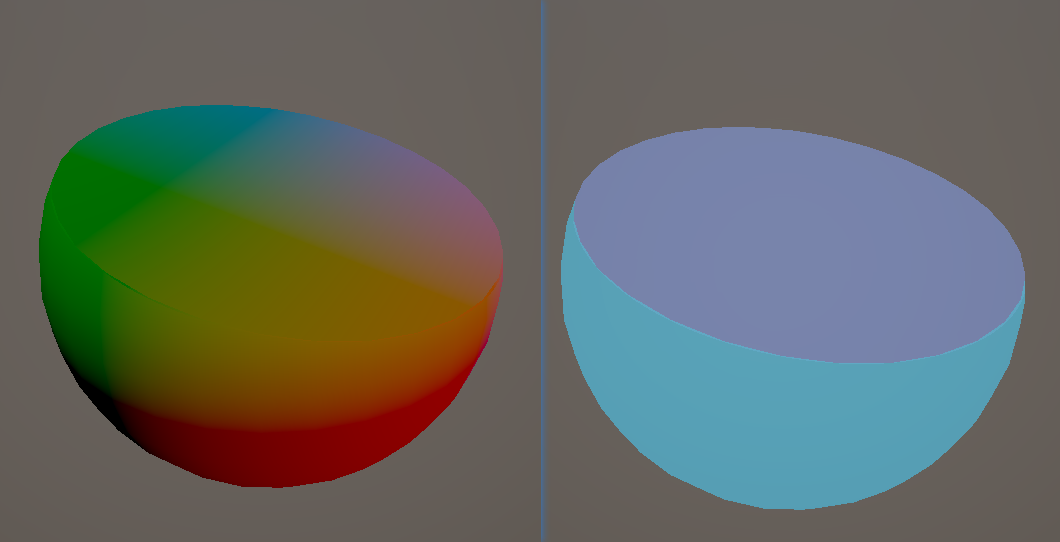
液体
高度&FakeWorldPos
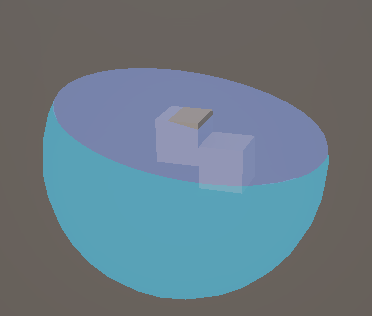
常见做法,正面绘制外侧液体,背面绘制内部液体,根据指定方向和高度计算进行clip
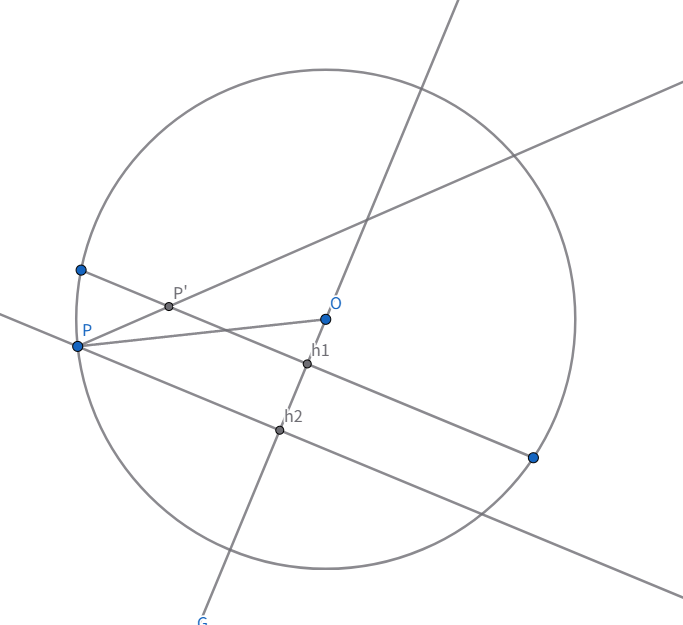
都在世界坐标下计算,已知O是模型原点objectWS,h1O是液体效果的方向upDirWS,Oh1是指定下落的高度Height,P是实际的positionWS,PP’是viewDirWS
需要就得Height - Oh2的高度差来clip高度,并且也需要计算P’的假世界坐标,供后面的计算使用,代码如下
1 | |
除了显示在液面的那些背面顶点,其他背面顶点也投影到了液面平面,只不过在球面外,因为会影响半透排序,clip也要对虚拟平面超出球体的部分clip掉
因为是球体,可以简单的通过在model空间计算出是否在球体中,记作planeMask
1 | |
模型正背面可以通过SV_isFronFace获取
1 | |
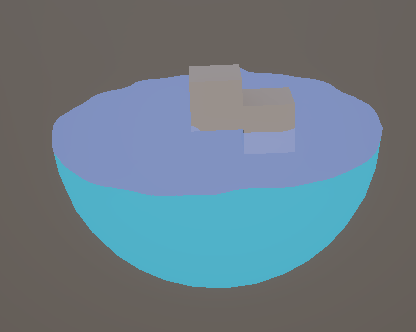
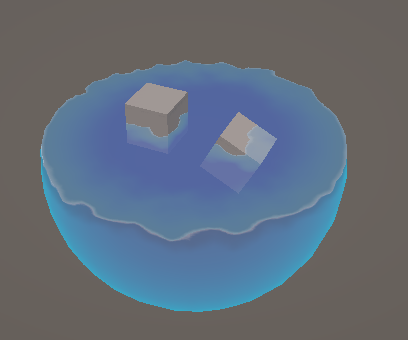
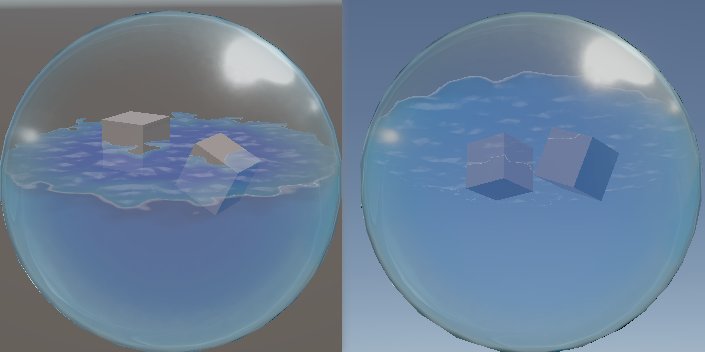
假世界坐标、clip和液体上面和侧面不同的结果
自定义深度
液面下的物体现在不会被液面覆盖,只会显示在最前面,因为液面实际是使用靠下的背面绘制的,实际深度是背面的深度
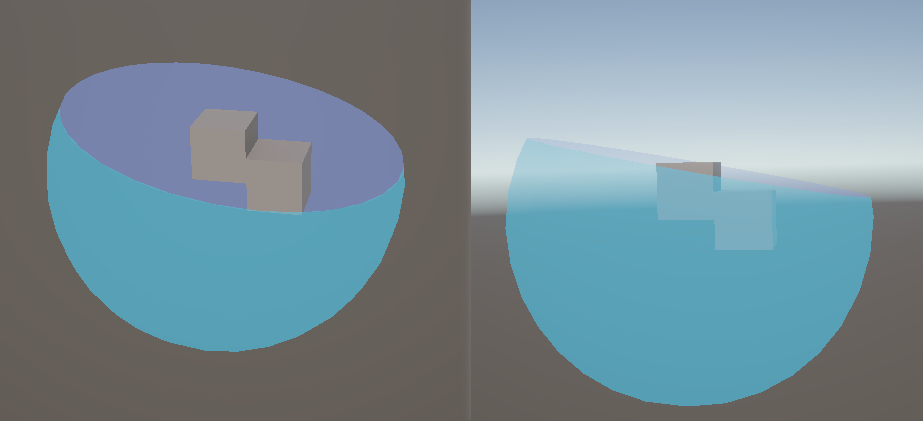
可以通过前面计算的planeWorldPos计算planeDepth,手动指定像素点的精度
1 | |
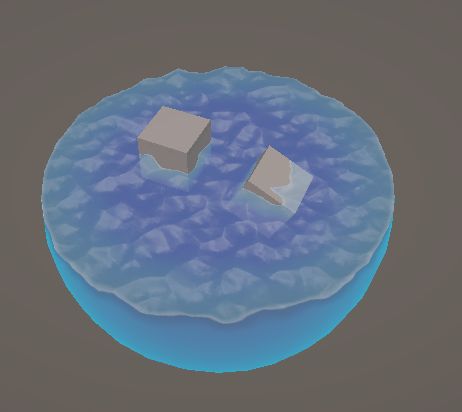
Noise高度偏移
1 | |
液体表现
侧面通过层面的dothv的rim,之前计算的h的深度,得到两个颜色过渡,侧面的上边缘有做颜色降低处理,模拟水体棱角处的折射和低透明度
1 | |
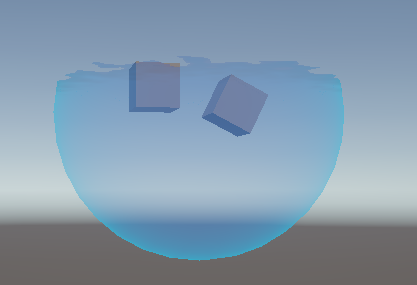
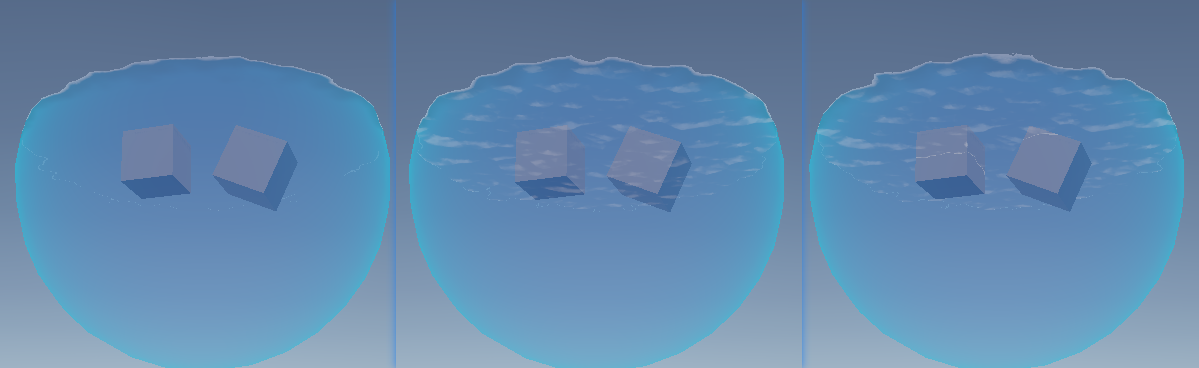
上面通过PlanePositionOS到原点的距离d;plane自定义的深度和场景中不透明深度比较,类似水shader浅滩的做法,插值浅水和深水颜色
1 | |
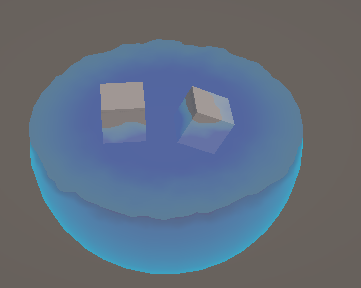
进一步,使用上面的这些数据,为侧面上边缘,上面边缘,物体与水体的交面添加模拟反光
1 | |
为水面添加bliin-phone高光,法线由之前采样HeightNoise时,改为采样一张NormalNoise贴图,其中rgb作为normal, a作为height
1 | |
从水体侧面看向水面的效果,需要构建在侧面像素时,对应的水面的一系列效果数据(planePositionWS 、depth等),实际上就是viewDirWS的方向不一致
通过face确定viewDirRayWS的方向,viewDirRayWS照常进行前面的计算,它只在侧面时,是反方向的,不会影响水面的效果,同时也不会增加计算量
并且,还需要比较customDepth和不透明物体的深度,让物体能够正确的遮挡水面,并且借此深度可以计算交接光效果
1 | |
闪光
增加一些带有体积感的闪光,侧面用视察方法计算,上面用viewDirWS去偏移planePositionWS来计算采样uv
1 | |
玻璃
用了MatCap方法做的
1 | |
参考
https://www.patreon.com/posts/fake-liquid-urp-75665057
https://zhuanlan.zhihu.com/p/694949392
https://mp.weixin.qq.com/s/-ukjq_pJqCCAYHQEcmzO3w