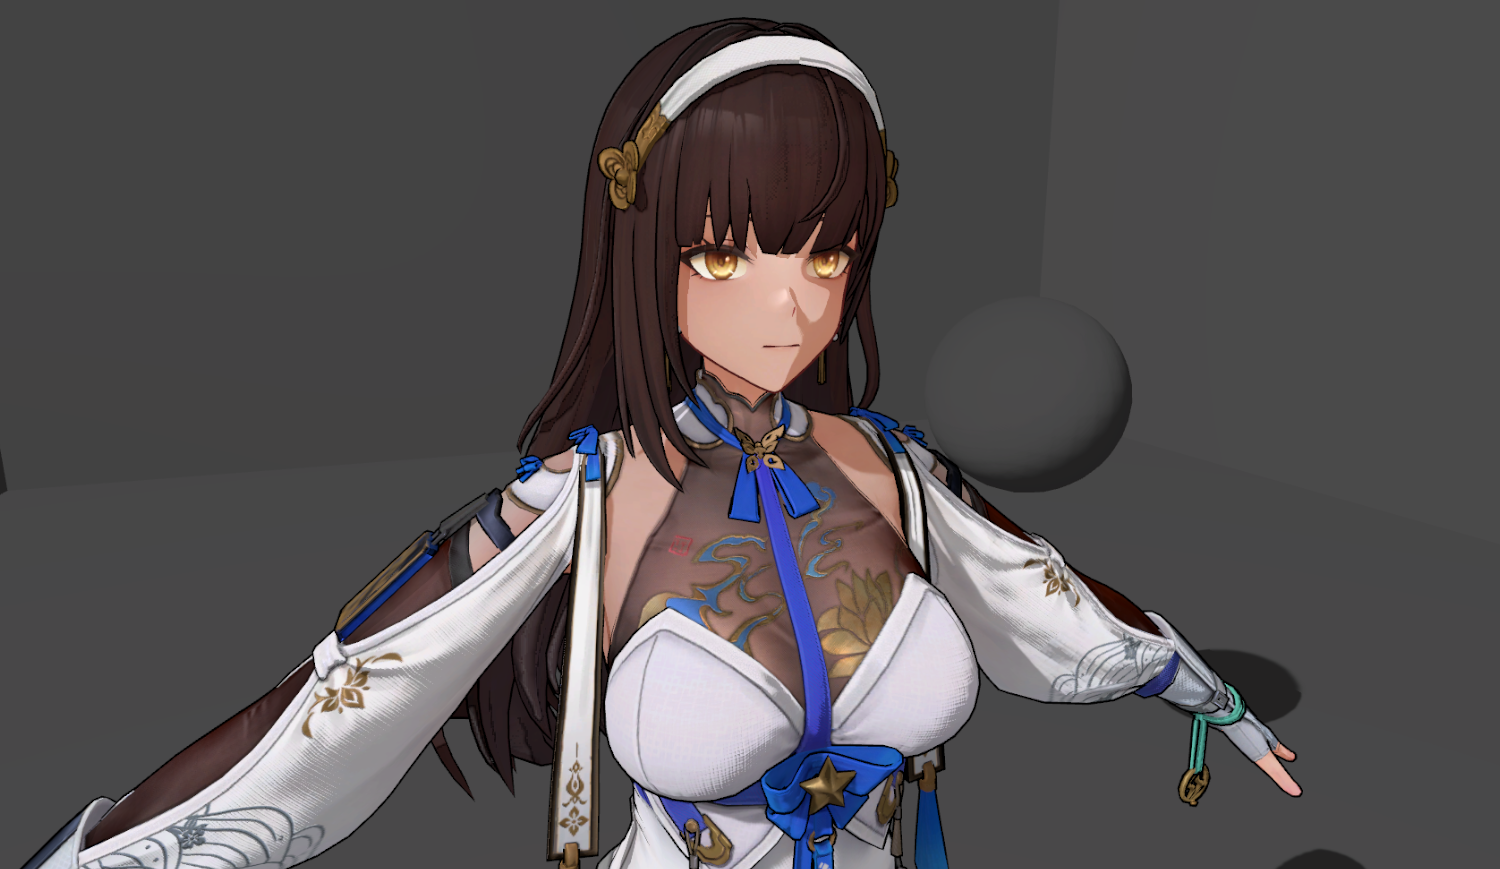
部分基于PBR的卡通渲染,主要是调整一些数据(dotnl)二值化(step, smoothstep, ),或者重新映射到Remp贴图,使用映射后的数据进行后续的PBR BRDF计算,当然也少不了许多trick做法
PBRBase
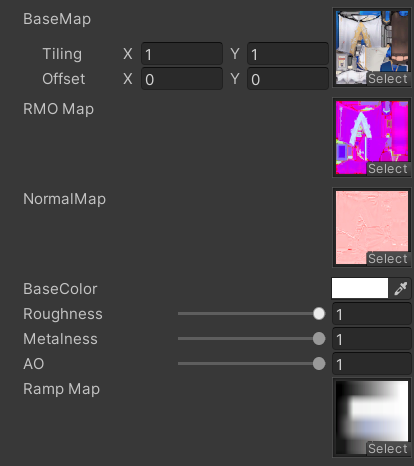
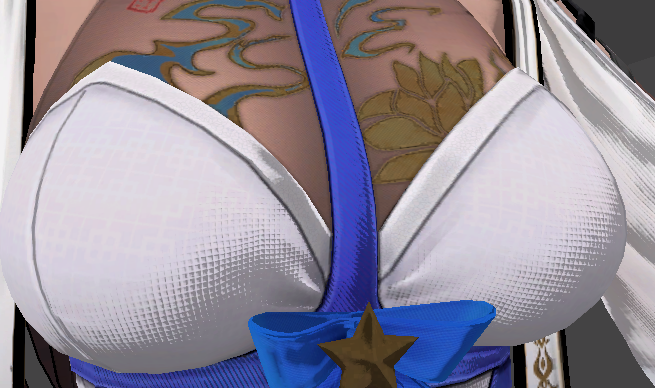
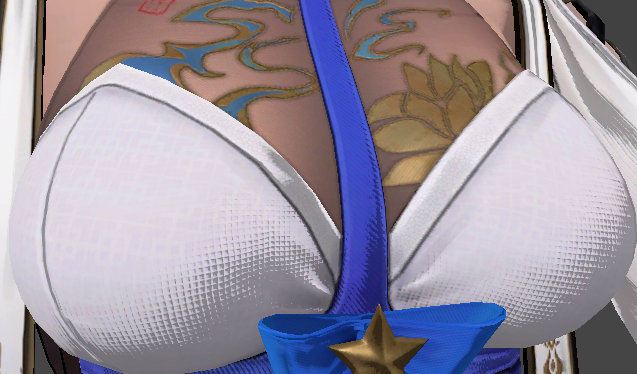
身体的部分有法线和粗糙度、金属镀、遮蔽的合并贴图,基本颜色贴图中也有AO,并且还有一张RampMap,提供漫反射、高光反射的映射颜色
贴图采样和各项数据准备
1 | |
直接光照
对dotnl通过sigmoid函数进行映射,得到可调整过渡范围的值,再用得到的值去采样RampMap贴图,得到的结果作为直接漫反射
1 | |
高光反射颜色对dotvh进行映射,然后采样RampMap获得;同时也把dotnlRemp传入G__SmithGGX,高光部分没有进一步进行风格化处理,保留其质感
1 | |
间接光照
直接用Unity的全局光照和一个自定义的光照颜色插值计算
1 | |
阴影
为了让阴影和dotRamp的结果融合,在进行dotnl映射前把shadow乘上去
1 | |
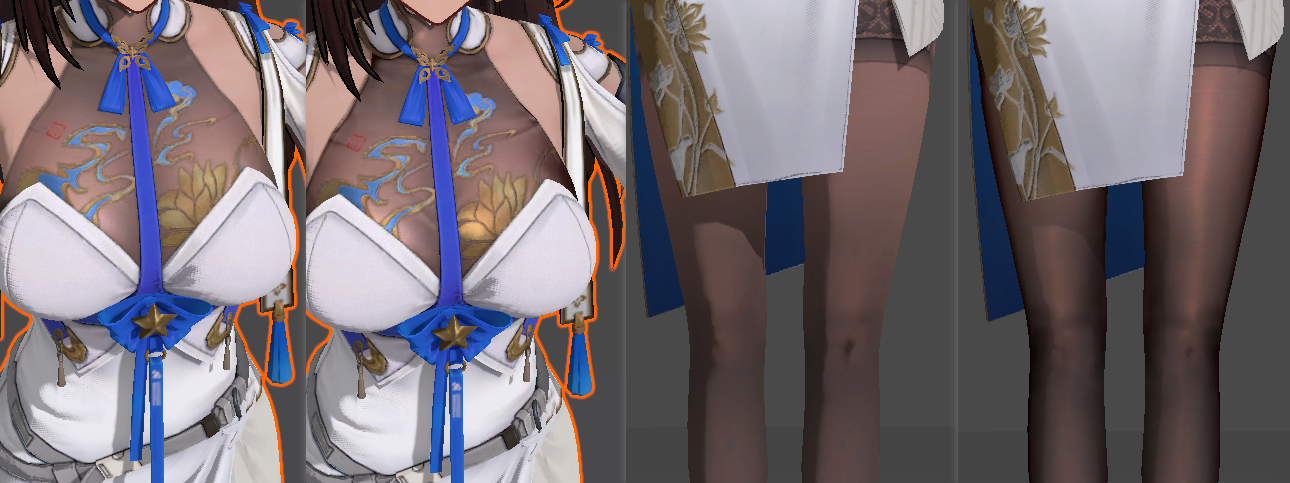
丝袜
身体上衣物的丝袜部分和其他部位使用同一种贴图,一个submesh,虽然贴图的金属度、粗糙度等有提供一些表现,但效果依然不够;
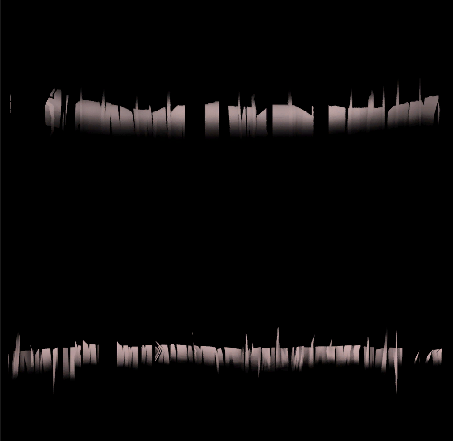
通过模型上的顶点色G通道,标记为0的部分,作为丝袜遮罩,进行额外的丝袜渲染计算
首先对于丝袜,漫反射部分更加柔和,需要dotnl的渐变过渡更加缓和,提供单独的_StockingShadowSharp对dotnlRemap进行映射
1 | |
然后通过RimLit的计算方法,对漫反射边缘压暗,额外增加dotnv中心部分的高光
1 | |
头发
头发没有法线和rmo贴图
1 | |
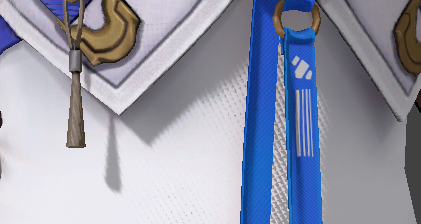
头发的高光用世界坐标的视线方向的y对uv1.y偏移,采样高光贴图,受blinnphone高光计算影响,同时也有最小值,让阴影处有些微高光
1 | |
面部
R通道是漫反射sdf,A通道是固定阴影区域, GB是高光sdf
SDF漫反射和高光
面部阴影通过sdf计算得到,用此sdf结果当做dotnl去计算采样rampMap贴图得到漫反射结果
sdf使用smoothstep平滑渐变,sdf贴图也需要设置高精度的压缩格式
1 | |
gb通道的sdf结果相乘,作为高光区域,这里是使用前方向和光照方向点乘
1 | |
面部只有直接光照了
1 | |
头发投影
头发在面部的投影,为了能让面部阴影能在光照计算时融合的更好,这里选择用额外渲染customDepth的方案,在头发的subShader中定义CustomDepthPass
1 | |
自定义RenderFeature的C# 代码
1 | |
在shader中,通过positionCS.w决定强度,用view Space的光照方向对screenUV进行偏移,采样自定义深度,和当前深度比较,得到头发阴影区域
1 | |
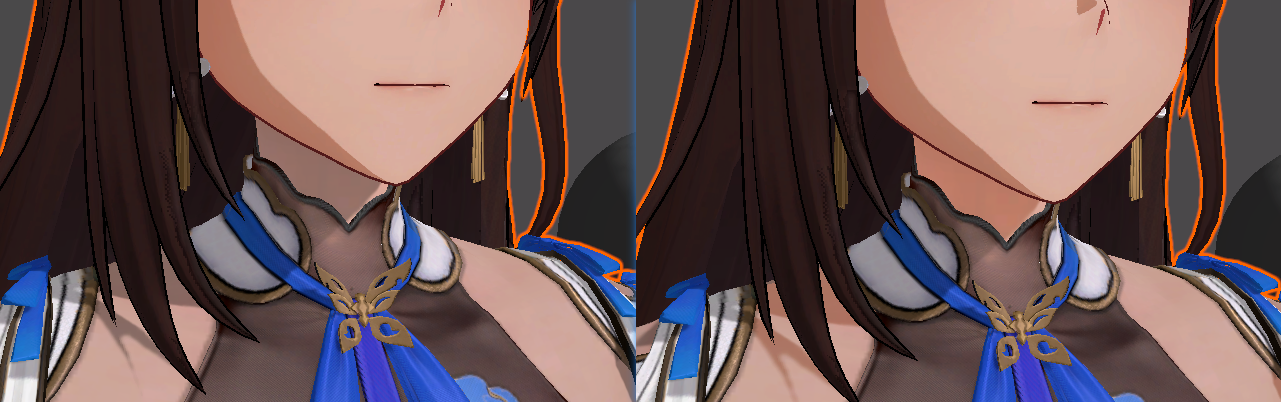
身体上的皮肤和面部不一致
因为使用的Remap贴图不一致,可以看到阴影、光照还有过渡都不一致
通过身体模型上顶点色r通道标记为0,获取skin的区域
1 | |
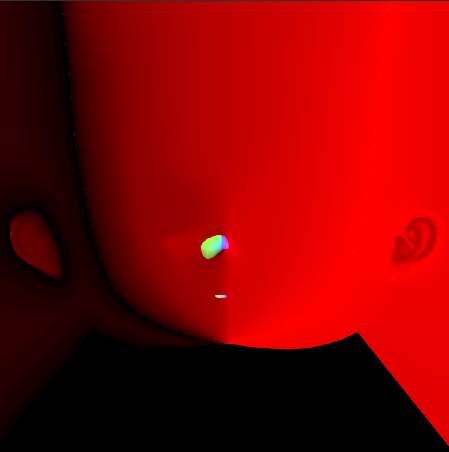
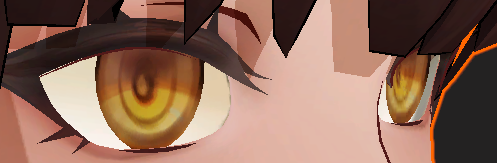
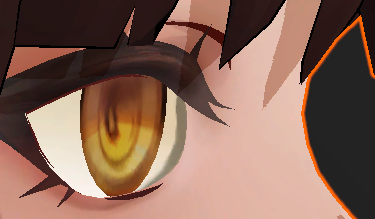
眼睛
眼睛的模型分成了3个,凹下去的眼睛本体,突出来的高光和阴影片,看的出来是想通过模型空间上构建视察的效果
眼球
不透明,加强了视差效果
1 | |
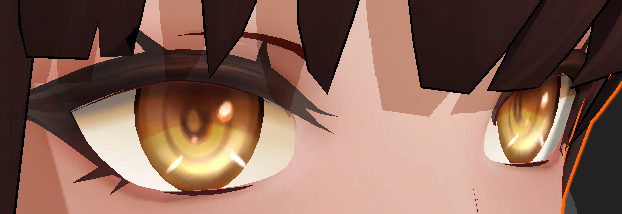
眼球高光
Additive

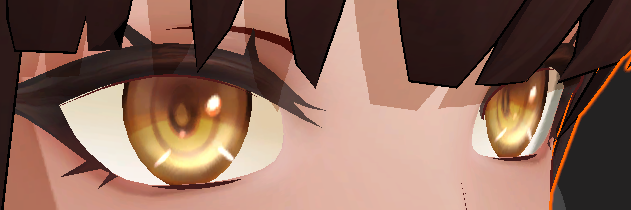
眼球阴影
Mul

描边
模型需要通过把平滑法线的xy以切线方向储存到uv2中;在vert中重建smoothNormalOS,偏移距离受positionCS.w影响
1 | |
参考
https://zhuanlan.zhihu.com/p/663968812
https://zhuanlan.zhihu.com/p/552489625
https://zhuanlan.zhihu.com/p/695612604